


Website Builder
Publish a branded photography website with your portfolio and a contact enquiry form.
Publish a website that introduces your photography studio, presents your portfolio and gives prospective clients a way to contact you.
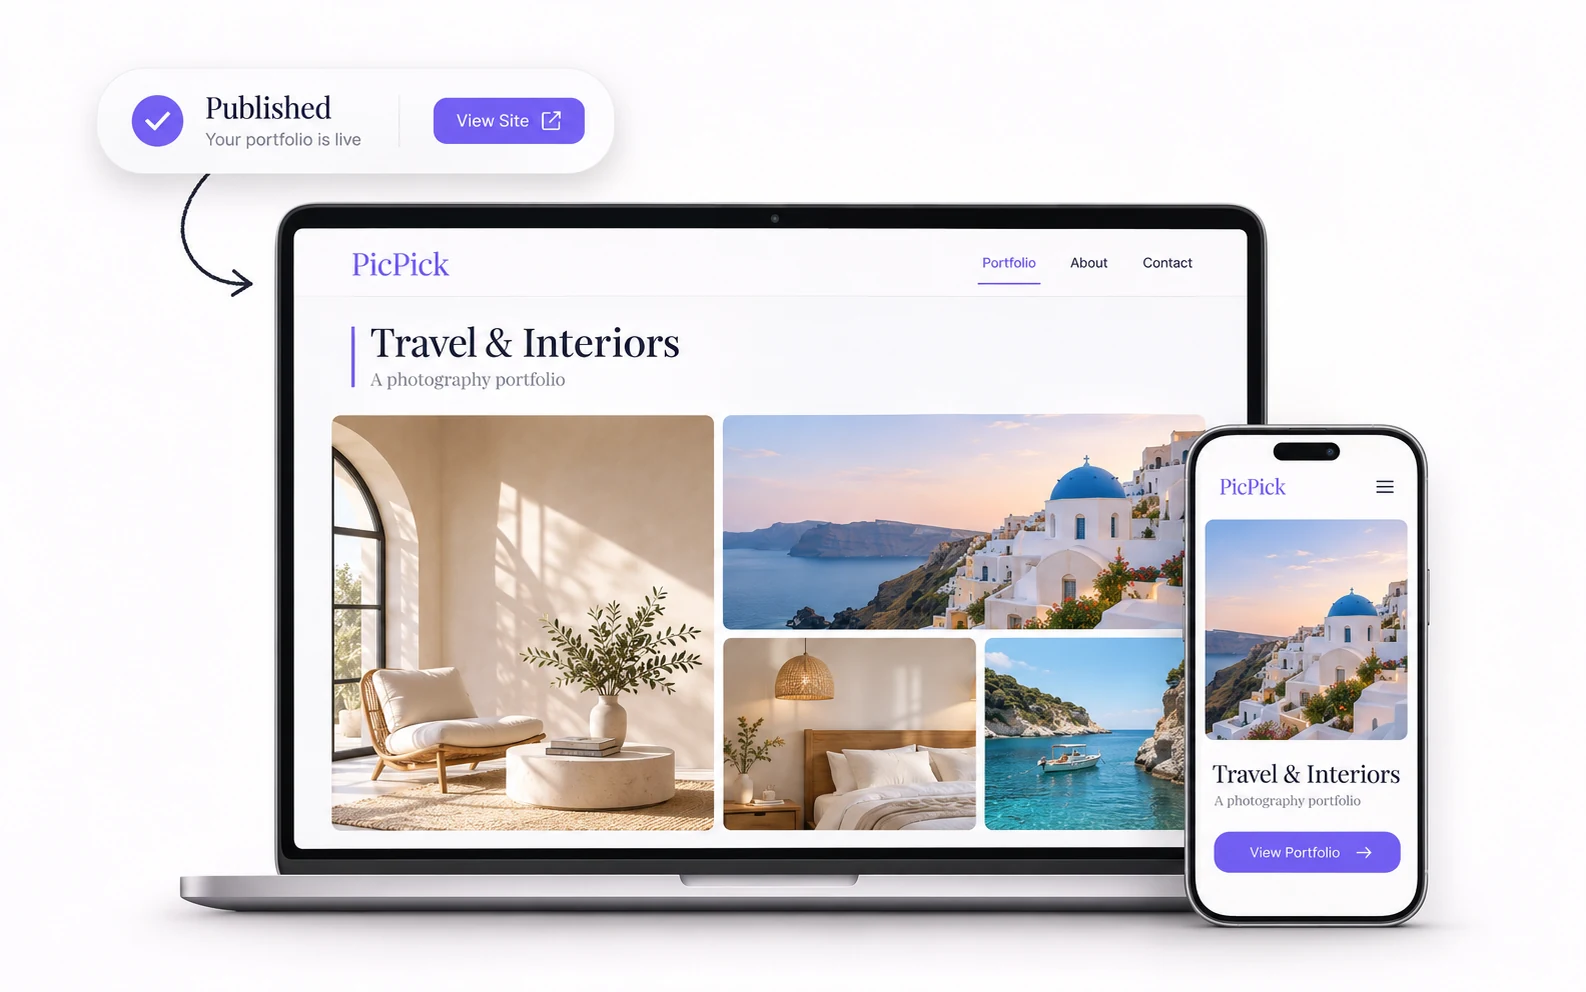
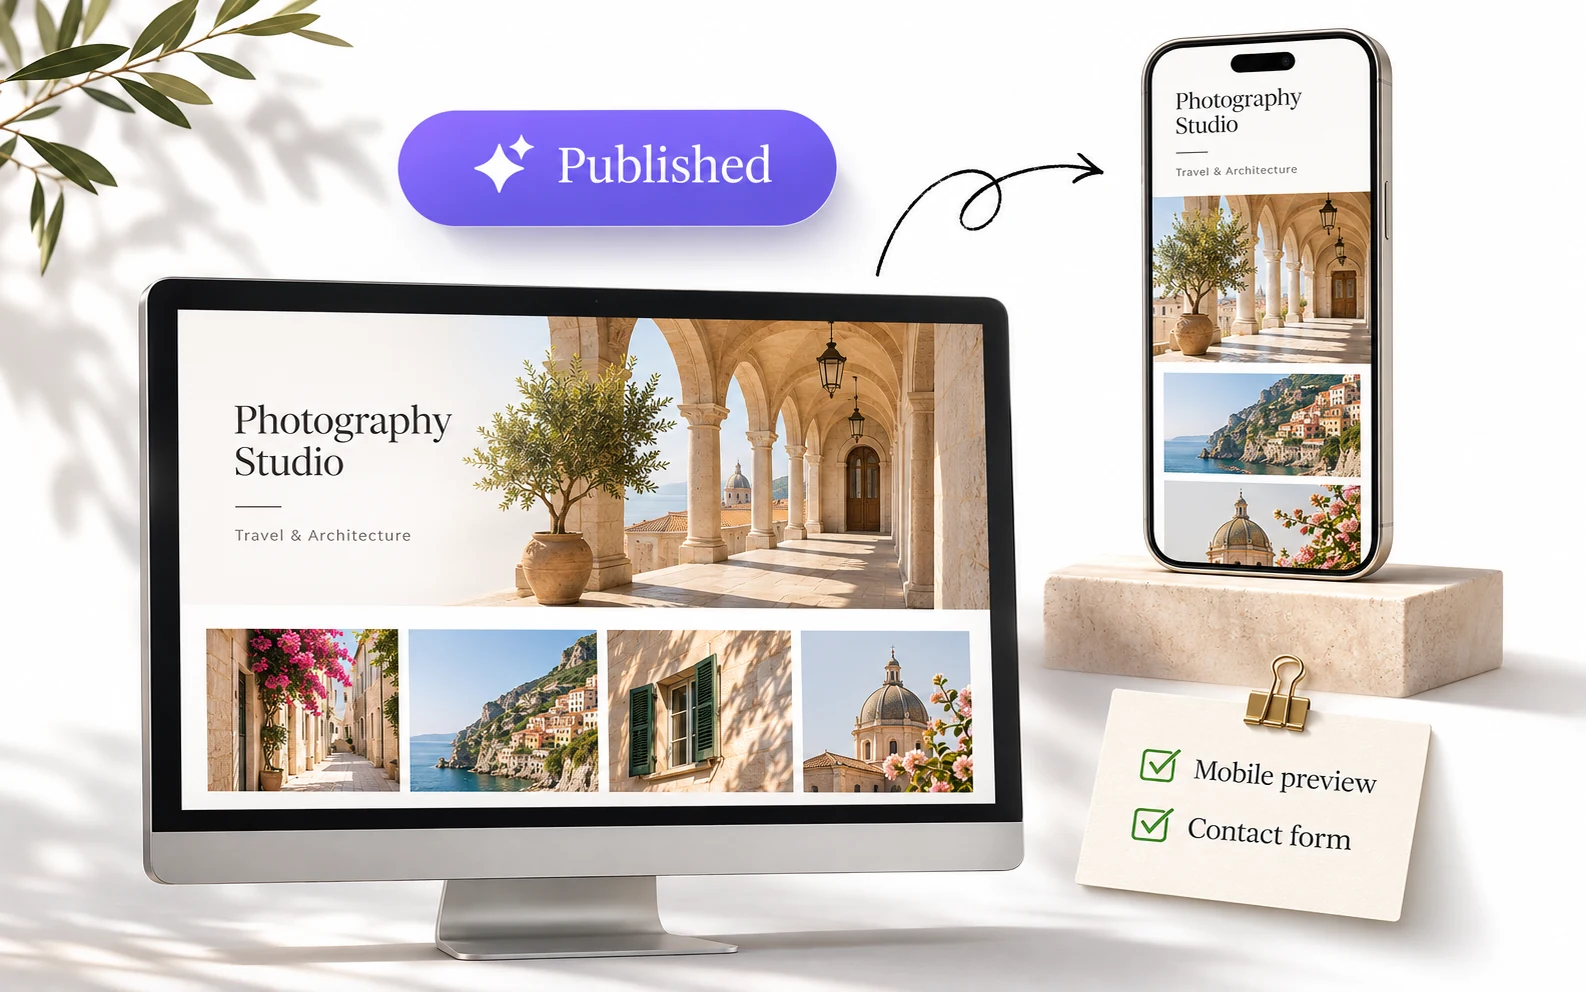
Build pages from the blocks available in your editor. Connect supported galleries or services, then preview the site on desktop and mobile before publishing.
What’s included
-
Page editing
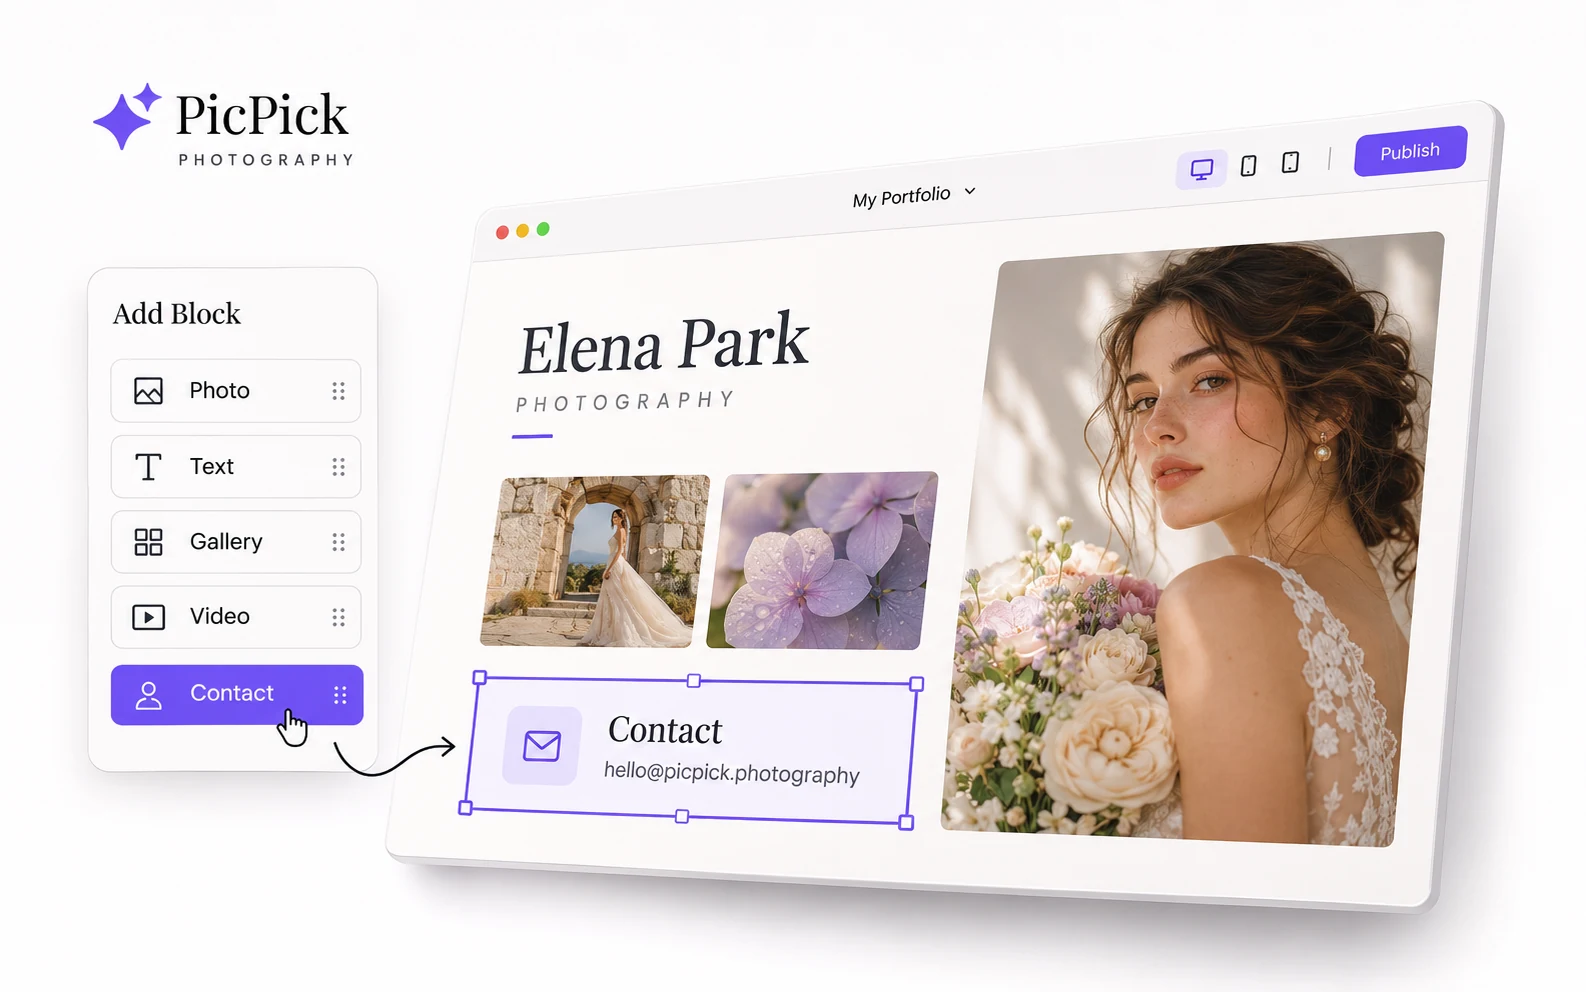
Arrange supported blocks with the editor’s alignment, resizing and snapping controls. Use undo or redo as you work through layout changes. -
Portfolio and service content
Connect supported content blocks to your work. Check that visitors can open any linked gallery or service. -
Contact enquiries
Add an enquiry form so messages from the published site arrive in your studio’s Enquiries inbox.
Where it fits in your workflow
Studio portfolio
Give prospective clients a place to see your work and contact you about a booking.
Service pages
Explain what you offer and link visitors to relevant work they can browse.
Publish, test and connect a domain
Check the public page
After publishing, open the public URL and verify navigation, images, contact links and form delivery.
Domain setup
When your plan supports a custom domain, follow the DNS instructions shown in your dashboard and check verification there.
Common questions
Confirm the intended page was saved and published and that you opened the correct domain.
Open Enquiries, clear filters and submit a fresh public test if needed.
Get started with Website Builder
Follow the walkthrough or choose how to open PicPick on your device.